Route planning
Good news for all users who want to be able to set the path between their Jira issues on the map.
Now it's possible because Mapit supports route search. After determining between which tasks the route should be lit - the user has two options:
-
see the route between selected issues in Google Maps.
-
see the route between selected issues in Mapit - this option requires Api Key (access token) from Mapbox.
Ask your jira administrator about enabling the right options for your needs.
Mapit gadget
After activating the functionality - the following icon will be available in Mapit - after clicking on it you will open your Route plan.
![]()
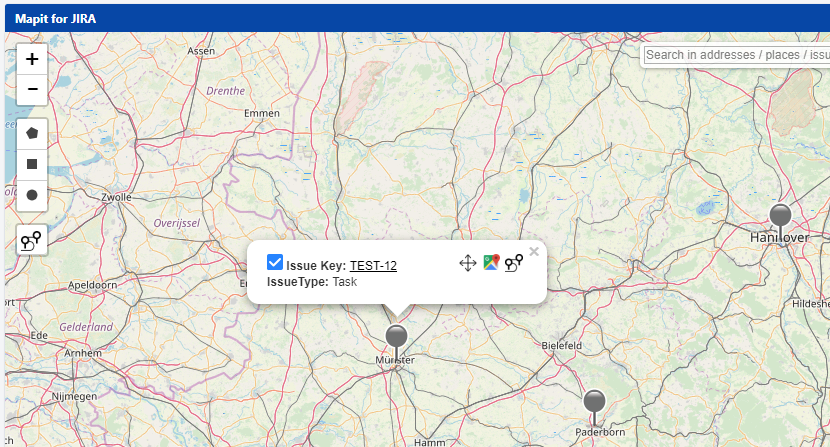
To add jira-issue to the route plan, click on it with the right mouse button and then click on the icon - as shown below.
Route plan will open automatically and you will see your issue on the list. Add all issues to the plan, between you want to find the route.
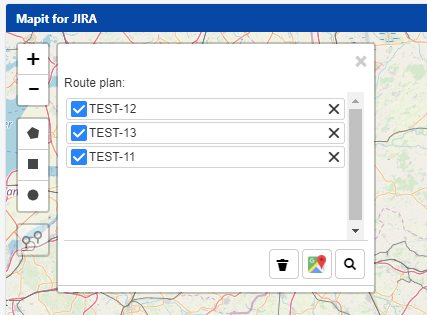
If necessary, delete the issue from the plan

or clean the list completely.

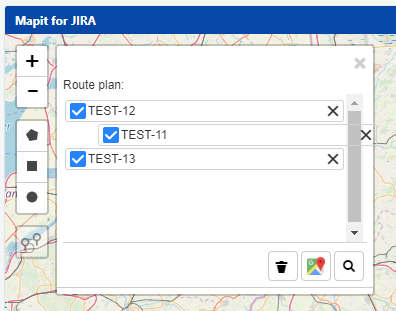
It is also possible to change the order of issues on the plan, through drag and drop.
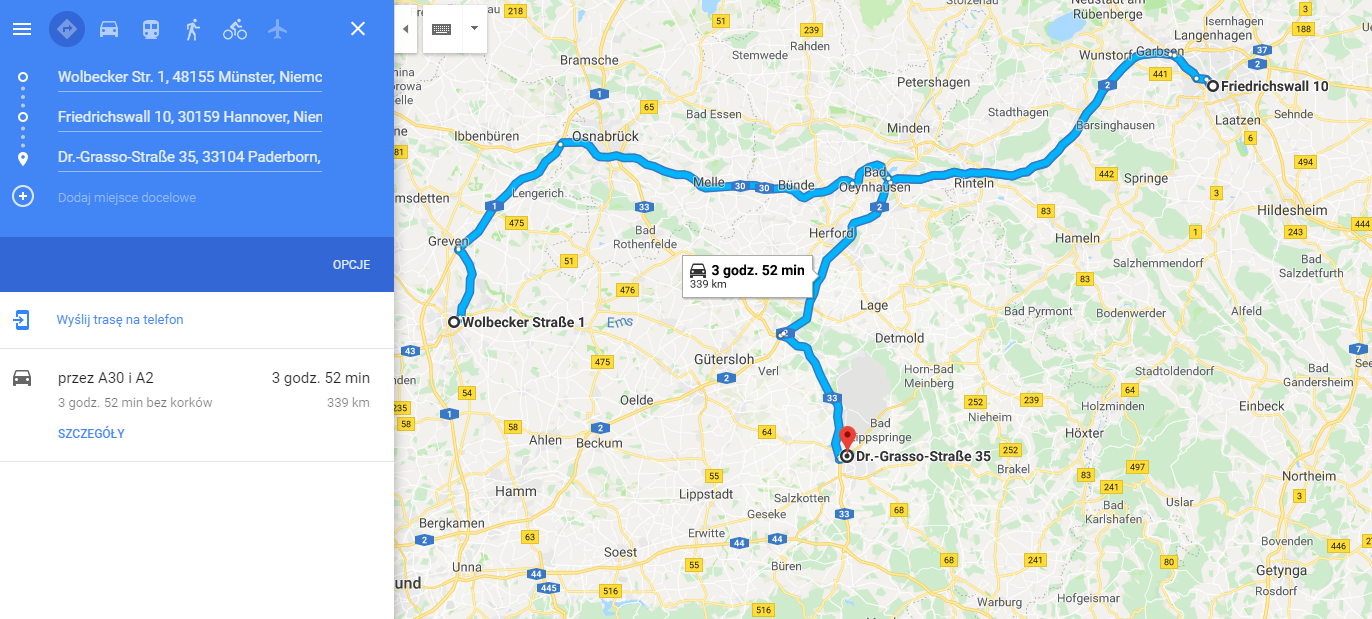
It is now possible to display the route you are looking for by clicking the route plan icon at the bottom.
![]()
As a result, you will get the route you are looking for in the new tab (Google Maps).
If API Key is provided (access token) from the Mapbox service - it will be possible to show the route directly in the Mapit gadget.

Enjoy !